
Integrating FMC for Telpo
Subscribing to Webhooks
- To receive events directly from the app, you can subscribe to a webhook. To do this, run 3DiVi Telpo Face Recognition, go to the app settings (see the lock icon in the lower-right corner) and click Configuration.
- In the Webhooks section, click the Add webhook button to add a webhook. You can add several webhooks.
- In the Url field, enter the address where events will be sent. To delete a webhook, click the Delete button next to the URL.
- To save changes, click the Save and restart button and wait for the app to restart (see Fig. 1).
 Figure 1. Webhook settings menu in 3DiVi Telpo Face Recognition
Wiegand Mode
Wiegand refers to the technology used in card readers and sensors. This system is a wired communication interface that operates between a reader and a controller. This is most commonly used in access control applications.
Creating a Profile with the Wiegand Field in the Face Machine Server Database
To work with the Wiegand interface, you have to get the profile of a person that stores the wiegand field as a part of the person data, and add it to the local watch-list of the device. First of all, you have to create a profile in the Face Machine Server database using the Face Machine API. The steps below explain how to create a profile with the wiegand field in the Face Machine Server database on the example of a Python script that contains an API call "Create a profile".
- Download the archive person-enrollment-example.zip. Extract the archive. Open the
person-enrollment-example.pyfile and find the following lines:
person_info = {
    'surname': 'TestSurname',
    'name': 'TestName',
    'secondname': 'TestSecondname',
    'externalData': {
        'wiegand': wiegand number
    }
}
- Enter the surname, name, and second name of a person in the fields
surname,name,secondname. Enter the person's Wiegand number in thewiegandfield. - Enter your Face Machine API token in the
tokenfield. You can copy the token on the Dashboard page in your personal Face Machine account (see Fig. 2).
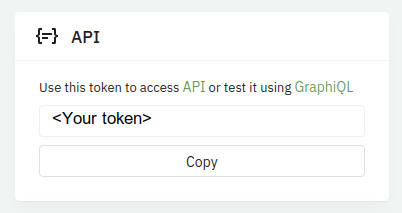 Figure 2. The API section on Dashboard in the Face Machine personal account
- Run the script using the command
python person-enrollment-example.py. The response should be as follows:
{'data': {'createProfile': {'profile': {'id': '737c3bb7-21f4-483b-847c-17bc8fda7d1a'}}}}
where id is an ID of the created person.
Connecting the Wiegand Interface to the Device
Wiegand is controlled by the group of "WG-D1", "GND", "WGD0" (see Fig. 3).
- Connect the blue wire to "WG-D1".
- Connect the red wire to "WG-D0".
- Connect the black wire to "GND".
Terminal Connection Diagram
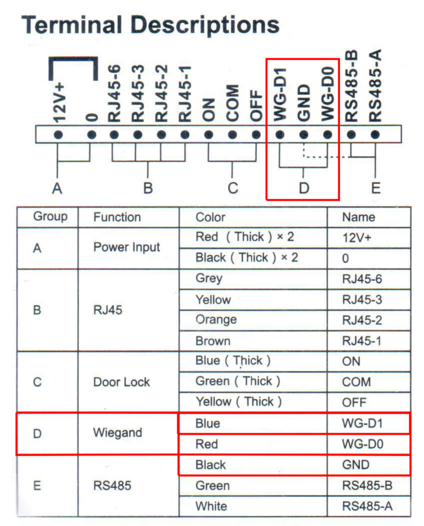 Figure 3. The group of terminals responsible for Wiegand is highlighted in red
Activating Wiegand Mode in the App Settings
- Run 3DiVi Telpo Face Machine.
- Click on the lock icon in the bottom-right corner of the screen to go to the app settings.
- Enter the PIN (default PIN is 1111).
- Activate Wiegand mode in the Recognized section (see Fig. 4).
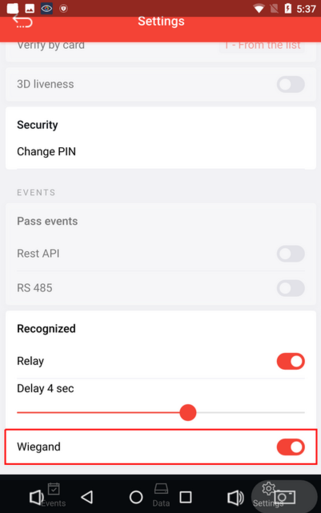 Figure 4. Activating Wiegand mode in the 3DiVi Telpo Face Machine settings